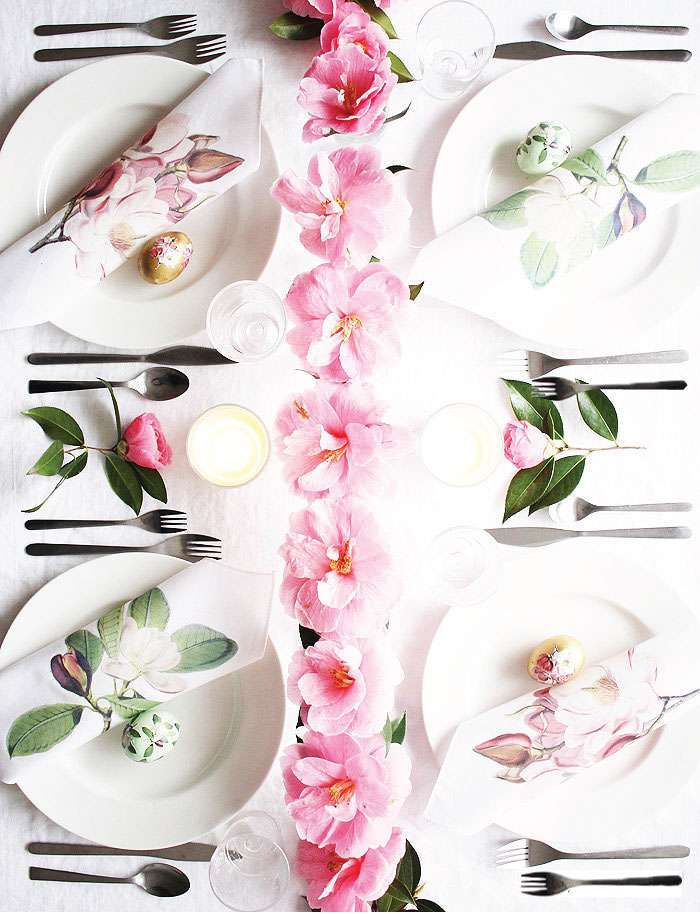


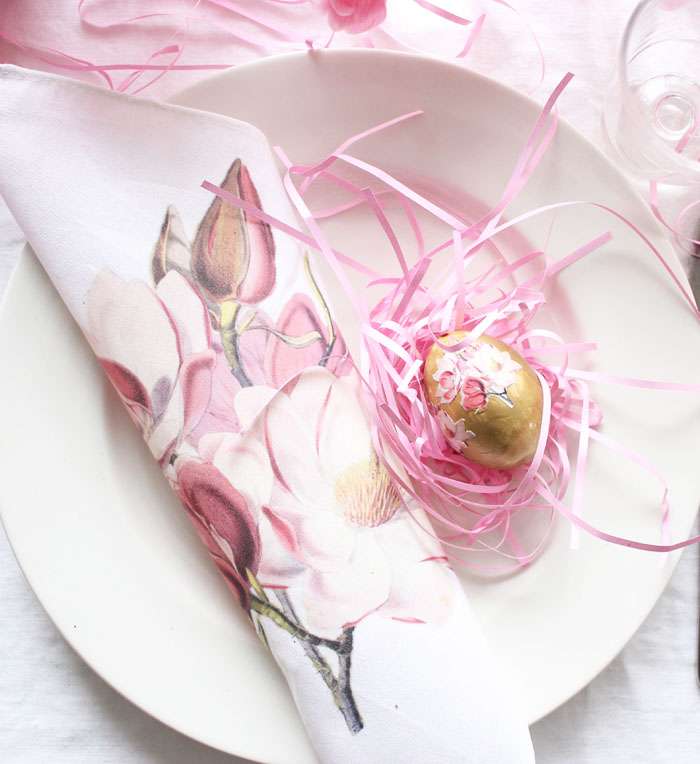
Magnolias are a favourite spring flowers, so what a perfect image to decoupage onto eggs. We first painted these using craft paints for a base (as we’re not eating them) and then once dry, decoupaged some mini magnolias. Check out below how we made them and to get the printables.
If you like the napkins to match, click our next post or here for the download and instructions.

What You’ll Need
1 dozen eggs (real, then boiled or blown or craft eggs)
Magnolia printables – click here for the download
Gold egg dye or craft paint
Pastel Green egg dye or craft paint
Modge Podge
paint brush
container or paint palette (to hold the paint you’re using)
xacto knife and xacto cutting board
scissors
Step 1
Paint the eggs. We painted ours in each of the colours (gold and green). Let dry.
Step 2
Cut out all of your pieces. We cut the large pieces using a scissors as it was faster, then cut out the smaller pieces using an xacto knife. Set aside.

Step 3
Start to decoupage the magnolias onto the eggs one by one. First paint some modge podge onto the surface (the size of the cut out magnolias you will be gluing it to). Then place the cut out piece onto the egg. Then paint some modge podge over top of the cut out piece until completely covered, ensuring that the piece is flat and has no ripples or bubbles. Turn the egg and add another piece on to get the desired effect you’d like. Let dry.