


Contributor post by Caitlin of The Merrythought
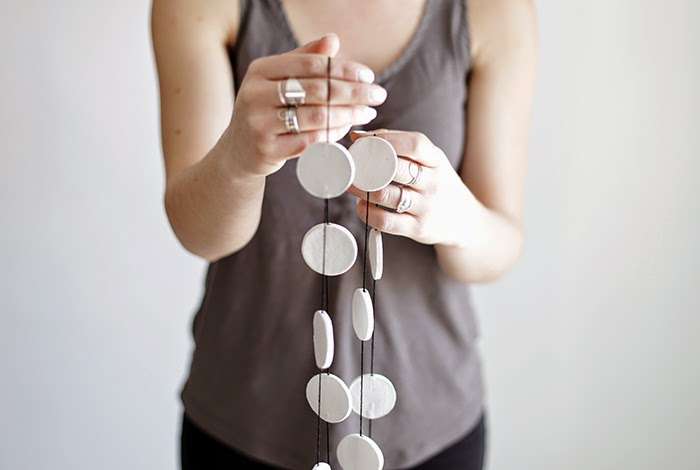
Air dry clay is one of my favorite materials to use while crafting. It’s so simple and the options for projects are endless! I recently made a moon phase mobile using air dry clay and loved the tiny circles so much that I decided to make a long garland out of them. I have primarily been using unfinished wood and plants to decorate my spaces lately and I love how the natural texture of the clay fits in with these materials.

Materials:
-Air Dry Clay
-Rolling Pin
-Circle Cookie Cutter
-Embroidery Needle or Skewer
-Sandpaper
-String
-Scissors
-Glue (I used 527 Multi-Use Glue and it worked amazingly.)
Instructions:
-Roll out clay to about 1/4″ thick.
-Use cookie cutter to cut out desired number of circles. (I did 24.)


-Use an embroidery needle or skewer to make two holes on opposite sides of each circle. *Save two circles for the end pieces and only put one hole in each of these.
-Let dry according to directions.
-Once it is dry, you can smooth out any rough edges with sandpaper if desired.
-Cut out 3″ pieces of string to go between each of the circles.
-Put a small dab of glue at the opening of the hole and use the embroidery needle to help push the string into place. Repeat until you have a complete chain. Be sure not to pull the string from the previous circle when attaching to the next circle.
-Let glue dry completely.