


Today (well this month), we’re in for a treat! Mitsy of the lovely shop and blog ArtMind will be sharing some of her fabulous tutorials with us. If you haven’t visited her site, it’s a must see, as not only does she make beautiful wares, she has an amazing tutorial section. Click here. Today she is showing us how to make polymer gift tags, perfect for a valentine! Thanks Mitsy! Click below to read:
In July, I saw the new exchange program on Totally Tutorials. The idea behind it is that suppliers offer supplies in exchange for a tutorial. As you all know, I love making tutorials & I love supplies so I didn’t have to think twice. I applied for the nice set of 1.5mm letter/number stamps from Evie’s Tool Emporium. They arrived very soon after she decided who was going to get them, but I was so busy preparing for the craft fairs that I didn’t have much time to play around with them. Well, time has come to show you what I did with them…
I used polymer clay (Fimo) to create gift tags from them. I decided to try white and black and see what the results were.

Here is what you need:
How to:
Step 1: Take a piece of polymer clay and soften it while kneading.
Step 2: Put the flat wooden sticks on the ceramic tile (makes it easier to transfer to the oven) and roll with the rolling pin over the clay so that it’s nice, flat and even.
Step 3: When you rolled out a piece, lift it up carefully and transfer it to another tile so you can roll out more little clay slabs.
Step 4: Punch with your cookie cutters, figures out of the polymer clay slab.
(Click on card stack below to see).
I made two sets in black and white clay.

Step 5: Before you start using your letter stamp set, wipe it off with a soft cloth. The stamps are a bit oily to make sure they don’t start to rust.
Step 6: Before you start stamping, try your stamp on a sample of Polymer clay. This way you know how hard you have to press the stamp to get result and it will also be good to see if you’re not holding the stamp upside down.
Step 7: Hold the metal stamp tool as straight as possible and press lightly into the clay.
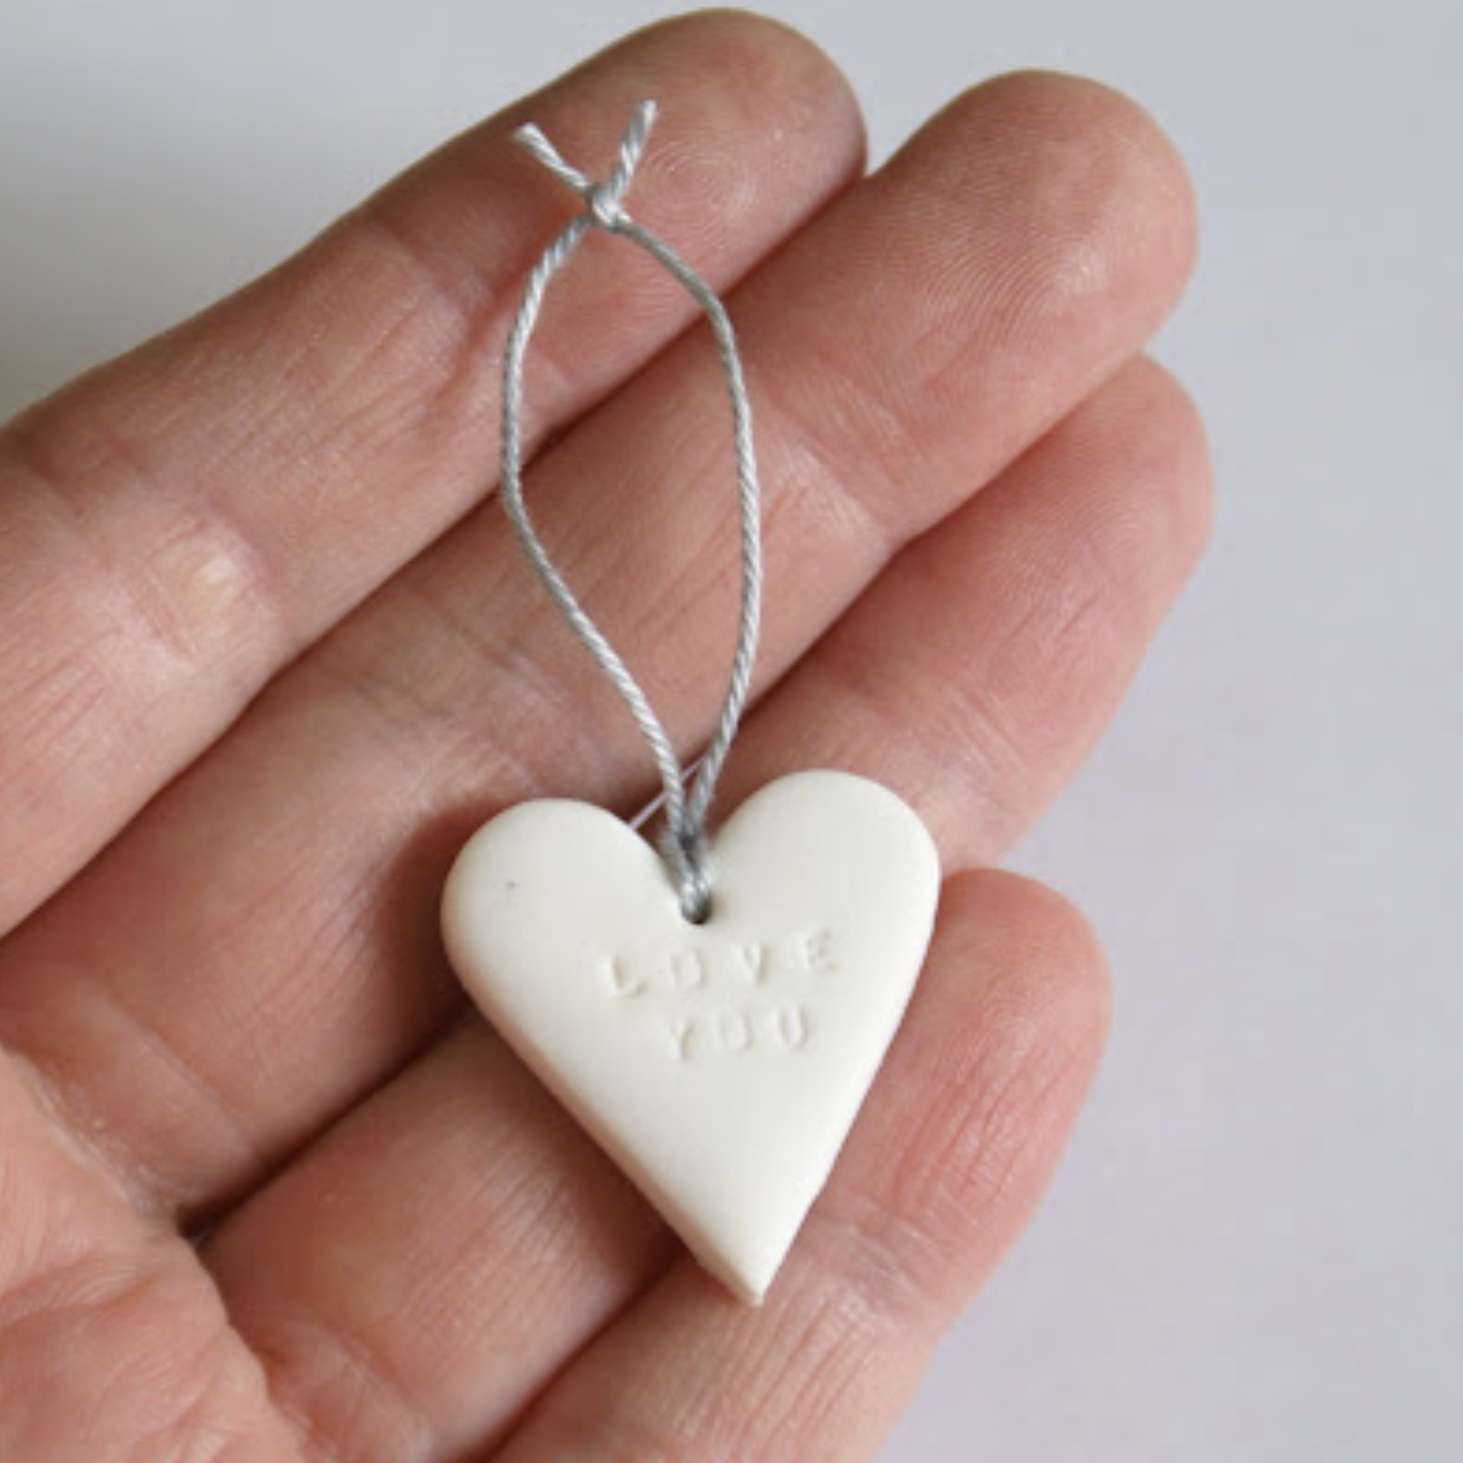
Here is what I stamped…

If you click on this picture below, you will see better what I stamped on the clay.

Step 8: Take your embossing tool or needle to punch a hole in the clay.
Step 9: Carefully take the piece of clay off the ceramic tile and punch with your embossingtool or needle on the backside of the clay so that the hole can be used.
Step 10: Preheat your oven to 110°C/230°F or read the instructions on the packaging of the polymer clay you are using.
Step 11: Thread a piece of string into the hole. In case you have a hard time getting the thread through the little hole, you can cut a small piece of metal wire and fold the metal thread in half and put the thread in between. Stick the metal thread through the little hole of the clay.